IMPORTANT: You will need experience how to like use commands.
Bloxlink is one of the most popular roblox-verification bot. It is used by thousands of servers and prevented thousands of raids. And the best part: It’s free!
Step 1: Create a Discord Server
You are supposed to know how to make one for this tutorial, but if you really dont know, here is how to do it:
-
Scroll down in your server list until you find this.

-
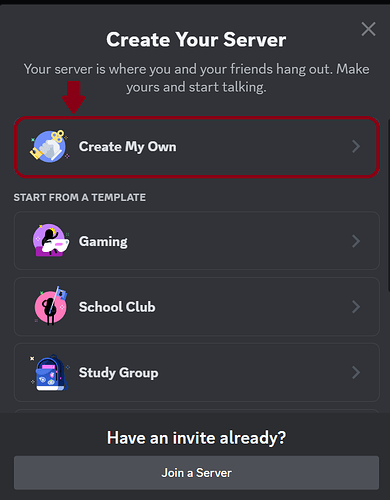
Click on it and select “Create my own”
-
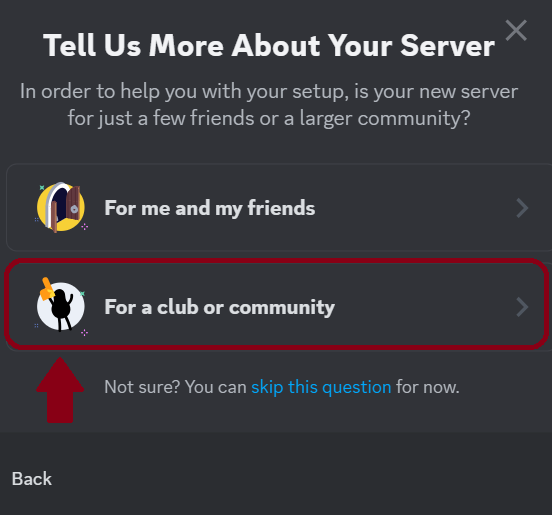
Event though it doesnt really matter what you select now, i suggest clicking “For a club or community”.
-
Now just enter a server name. It should be quite unique. You can also add a image, but its not required.
NOTE: Some buttons/text might look different, because you are most likely have choosen a other language or discord made a update.
Step 2: Invite Bloxlink
You will need to have the “Manage Server” permission to add Bloxlink.
So how do i invite the bot? You just need to use on this link:
Invite Bloxlink
Step 3: Setup Bloxlink
There are a few more things to do. Now lets setup Bloxlink!
- Run
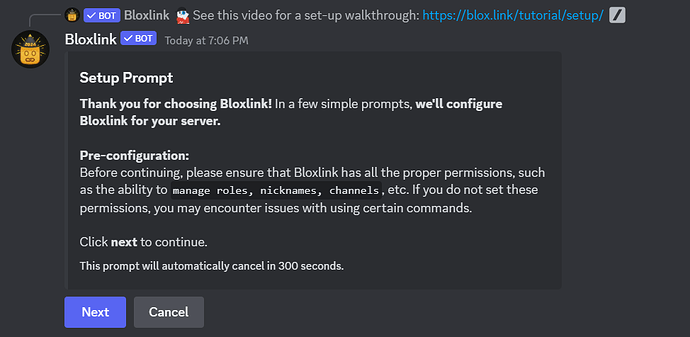
/setup. - You will see this message pop-up. Click “Next”
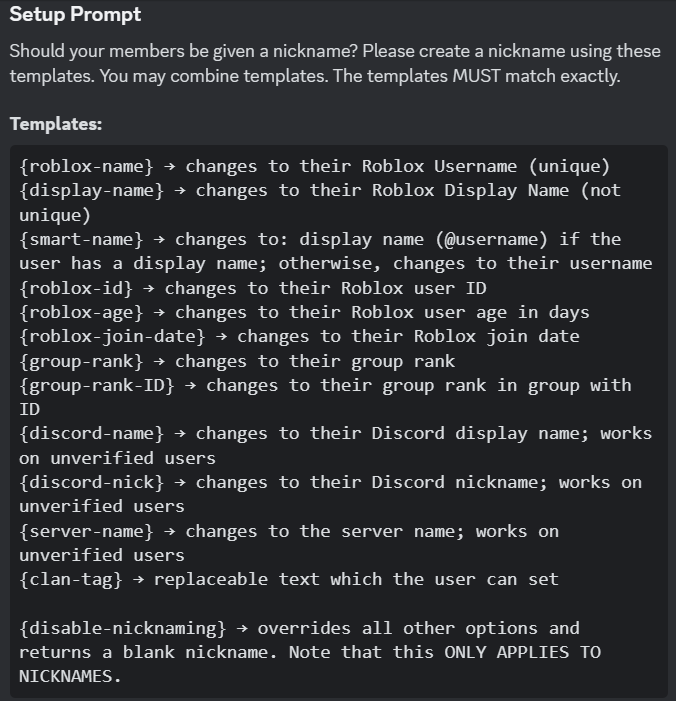
- You will be asked to enter a template. All templates are posted under “Resources” too. I recommend using
{smart-name}or typingskip
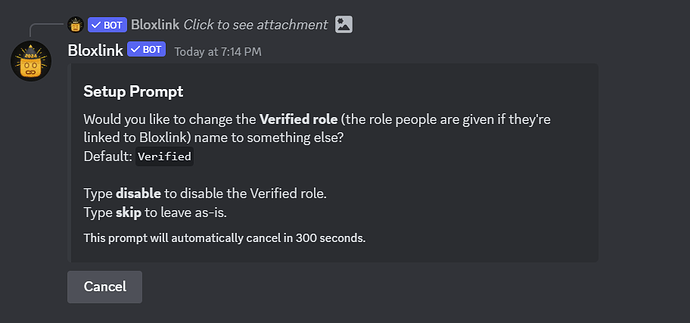
- Now you will be asked if you want to rename the Verified role. I recommend typing
skip, otherwise some information in this tutorial might be incorrect.
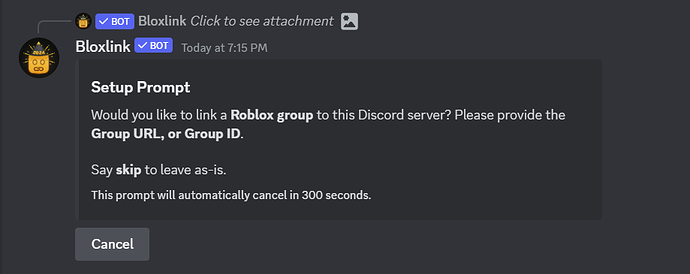
- Now, you can bind a roblox group. If you dont own one type
skip, if you own one you want to link, enter your group id. How to get the group id is found under “Resources” down below.
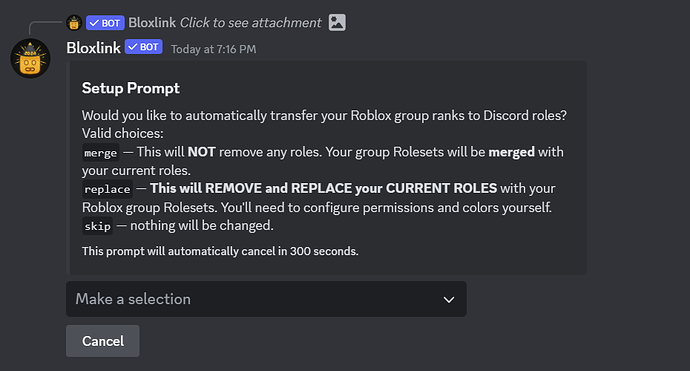
- (Step will only happen if you enter a group id, otherwise you can skip this) Select how Bloxlink should make the roles. I recommend using
merge. You must use Make a selection this time.
- Click “Done”
Step 4: Make a verification channel
NOTE: If you just want users to use
/verify, you can skip this.
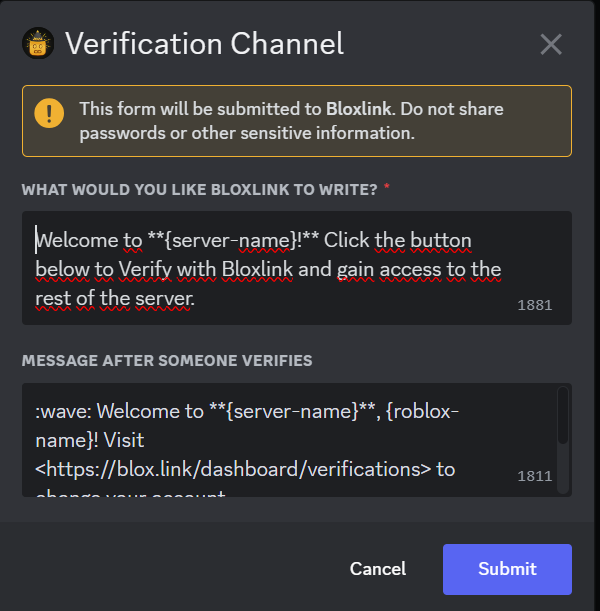
- Run `/verifychannel
- You can change what Bloxlink says, but i recommend keeping the standards.
- Move your Verify category up
Step 5: Make Verified only channels
You will just need to make sure the role @everyone can’t view these channels. All users must have Verified to access them.
Step 6: Let your users verify!
Your all done! If this tutorial helped you, feel free to give a Like on this post!
- Yes
- No
- I already knew how to, but its good for beginners!
Resources
Nickname Templates
Copied from Bloxlink bot
{roblox-name} → changes to their Roblox Username (unique)
{display-name} → changes to their Roblox Display Name (not unique)
{smart-name} → changes to: display name (@username) if the user has a display name; otherwise, changes to their username
{roblox-id} → changes to their Roblox user ID
{roblox-age} → changes to their Roblox user age in days
{roblox-join-date} → changes to their Roblox join date
{group-rank} → changes to their group rank
{group-rank-ID} → changes to their group rank in group with ID
{discord-name} → changes to their Discord display name; works on unverified users
{discord-nick} → changes to their Discord nickname; works on unverified users
{server-name} → changes to the server name; works on unverified users
{clan-tag} → replaceable text which the user can set

{disable-nicknaming} → overrides all other options and returns a blank nickname. Note that this ONLY APPLIES TO NICKNAMES.
How to get Group Id
Thanks to Cookie for making this Video
